When I was a freshmen in college in Minnesota I was hanging out with a friend in her dorm room and she had a beautiful knitted lap blanket. I immediately asked her where she got it and she told me her mom had made it for her. Her mom sent me the pattern and the rest is history.
This is my go to blanket pattern for baby blankets. I love this pattern because
1. Its easy- once you get the pattern down it doesn't require counting and I can work on it while listening to lectures/podcasts or watching tv
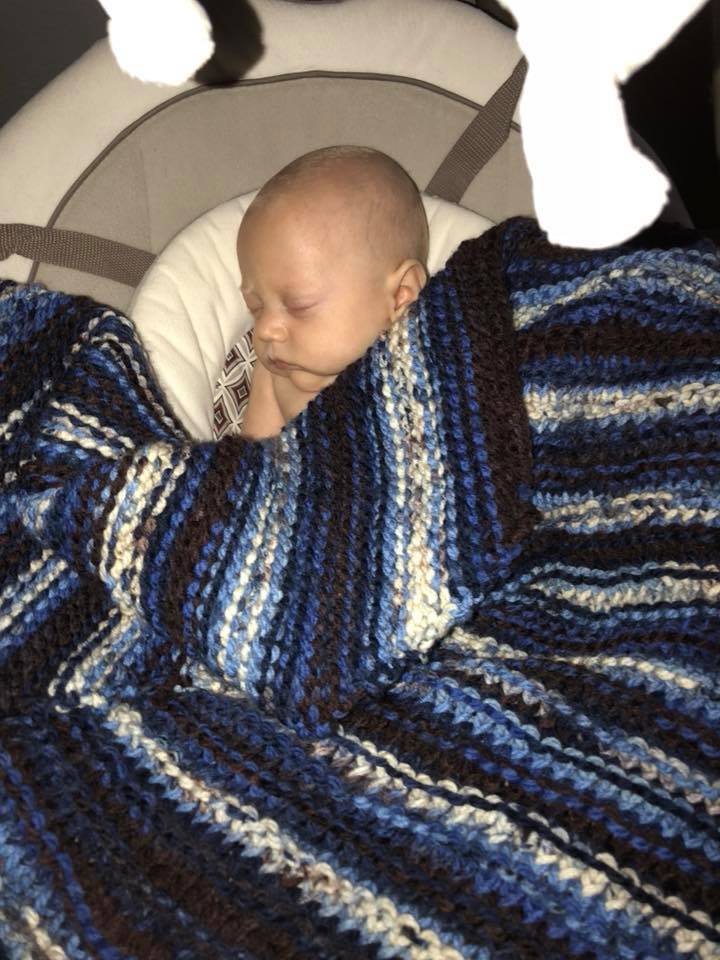
2. It makes a great blanket for babies or a nice lap blanket. Many people say they use it in car carriers
3. It looks cute- you can get yarn for it in a variety of colors and varieties.
Because I'm in my late 20s it seems like I've made a ton of these over the years for new babies. I've done other blankets in the past but this is definitely my favorite.
Marianna enjoying her blanket!
What you'll need:
Size 8 Circular needles. It's important to get circular needles and not straight needles in order to accommodate the growing size of the blanket. You can get these at any craft store
4 skeins (that's the fancy term for balls) of bulky or super bulky yarn in the color of your choice. I find these on any given day to be about $5 a skein so I try to watch for deals. If I catch it at the right time I can find it for $2 a skein.
Time- this is a longer project so plan ahead.
Here is a yarn weight guide for reference. Typically the yarn will say "bulky" on it. I have done blankets with two strands of medium yarn but I feel like they are not as soft as when I use bulky.
The first blanket I ever made with this pattern- circa 2012. Below are various patterns from over the years
The Pattern:
If you need help with casting on, knitting, purling or adding techniques go to youtube. There are a lot of helpful videos out there to show you what to do- it's mostly how I've learned.
Cast on 5 stitches to the circular needles
Knit all 5 stitches
Repeat these 4 rows for two skeins of yarn:
Row 1: Knit 1, Add on 1 stitch, knit until you get to the last stitch, Add on 1 stitch, Knit 1
Row 2: Purl the entire row
Row 3: Knit 1, Add on 1 stitch, knit until you get to the last stitch, Add on 1 stitch, Knit 1
Row 4: Knit the entire row.
Over the years I've learned it takes slightly more yarn to decrease than it does to increase so I purposely will switch to the decreasing with a little bit left on the second skein. Sometimes I end with a lot extra and sometimes I have just enough- its kind of a guess.
Repeat these 4 rows with the 3rd and 4th skein
Row 1: Knit two together, add 1 stitch, Knit two together, knit all the way across until there are 4 stitches left on the needle,. knit two together, add 1 stitch, knit two together.
Row 2: Purl the entire row
Row 3: Knit two together, add 1 stitch, Knit two together, knit all the way across until there are 4 stitches left on the needle,. knit two together, add 1 stitch, knit two together.
Row 4: Knit the entire row.
Once you get down to your original 5 stitches cast off. Sew your strings in and you are finished.
It sounds complicated but I promise it's pretty easy!
Liam enjoying his blanket
Good luck! Feel free to comment with questions.
Secretly knitting during a class zoom meeting. I only got caught once!


Comments
Post a Comment