Our Main Bathroom Remodel


When we moved into our house we knew from the beginning that we wanted to update all the bathrooms. They had been "updated" by the previous owner and by "updated" I mean some new linoleum floors and some mcgiver plumbing job on a vanity. Usually we have my dad help us with plumbing but we decided to try this one by ourselves so that when he came to help with the master bath remodel we would have at least one fully functioning bathroom.
The BEFORE


Now I've definitely lived in worse bathrooms but this one was old- at least 30 years and there was a nice layer of rust and grime that I just couldn't get off. I figured while we were suffering through the master we might as well suffer through the main bathroom as well.
Step 1: Demolition
We completely gutted the entire room. I was able to give away the vanities, shower head and the mirrors on our community "buy nothing" Facebook group- so I was glad that some things could be reused.
We utilized a saws-all and a multi-tool to break down the shower- they are our must have tools for demo.


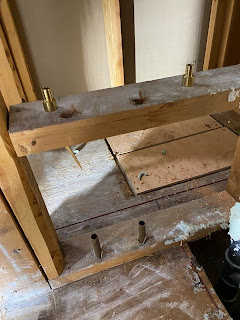
As we demolished the room we exposed our chimney. Originally I was thinking of doing built in shelves that came close but didn't touch the chimney. Max wanted to just get rid of the chimney and then we could make a whole closet out of it instead. Our wood burning fire place isn't safe for practical use and we are planning on converting it to an electrical fire place next year. So Max removed that whole section of the chimney. We plan on removing the top part in the attic later on in the project. He put some left over plywood from another project on the floor so that we wouldn't fall in the hole.


Step 2: Shower Installation
This is what I was most nervous about. Max and I have done alot by ourselves, but we had never sodered and installed a shower before. We did a lot of research and watched a lot of videos on youtube.
When we opened up the wall we cursed the previously plumber for how they had run the hot and cold water pipes. We were really worried about replacing them for the new shower.

Whose idea was this?!??
My dad suggested looking into PEX piping which I had never heard of before. PEX is a plastic material that you can use in place of copper. You need to invest in a crimping tool (Roughly $70) but other than that it is no different that copper. We were drawn to it because: 1. it is way more forgiving than copper- if you don't have an exact measurement thats ok- it bends- make it slightly longer than what you need and you are good to go. 2. You don't have to soder which means you don't have to worry about fire, and the harsh chemicals from flux and soder. 3. This wasn't a concern for us but I could see why people would want to use PEX at a jobsite because they are tired of the copper being stolen.
The PEX was 100% worth it. I'm pretty sure I might have ended up divorced if we tried to soder this new valve and shower system. Because the the PEX is flexible we ended up re routing it to reflect the more traditional set up of a shower valve. We did have to soder two pieces. We cut the existing copper pipes to roughly 4 inches off the ground and then sodered two brass female connecter pieces that connect onto the PEX piping. This was a relatively easy straight soder.

From there we were able to use the PEX to connect the original pipes to the new shower valve and the shower head. I was worried about the downspout for the tub because all of the videos that I watched showed that you had to soder that part as well. This is because a tub downspout is required to be attached to metal (I'm not sure why, thats just what my dad told me but I'm sure there is a logical answer). I ended up finding a copper downspout piece that has a PEX connector on it for $7. It worked great.


Max using the crimper tool on the PEX to downspout piece and then testing the whole system for leaks as I turned the water back on.

Hard to see but this is the completed system with the new PEX pipe.
Step 3: Shower Drain Installation
So this is where we got a little confused. I think because I was so focused and worried about the copper
and learning how to soder that I didn't really focus that much on the drain part of the tub. We knew we wanted to replace the drain pipes because the old ones were just down right gross from years of use and not cleaned. We made the mistake of not realizing that it came as kit and instead we attempted to buy the parts separately. We figured this out when we attempted to put it together and realized that we were missing parts. Eventually we made a trip to Home Depot and purchased everything as kit and things started making sense. Still this installation was harder than I thought. It required both of us to hold the drain in place in order to line up the the trigger to plug the drain. Eventually we got it done. We put caulk down between the drain and the tub in order for waterproofing and sealing.


Before: the nasty plug/drain setup and After: New and shiny plug/drain before we put the tub in.
Step 4: Install the Tub
You can buy tub surrounds as a full single piece but for the sake of transportation, getting it up our stairs and installation I chose to get it a 4 piece installation kit. The tub part itself was an individual piece- we installed this part first and hooked up the drain to it.

The next day Max was able to install the three surround walls. I debated tiling the walls of the shower and depending on the tile it would've cost about the same. In the end I decided for the sake of speed and simplicity to just install the three walls. Make sure that you use exterior screws so that they can withstand water and moisture.

Step 5: Paint walls and install cement board
I wanted to get the majority of the walls painted before we installed the floor so that I wouldn't need to use a drop cloth. Obviously I couldn't paint the walls that didn't have drywall but I could do the three main walls. I was going for simple so I chose "repose gray" the guy at Lowes gave me crap about this color but I really like it and I think it works well for this space. I also took down the original light fixtures and spray painted them oil rubbed bronze.

To prep the floors for tiling we installed 1/4 inch cement board on the floors. This provides a good surface for the mortar and tile to adhere too.


Step 6: Tile installation
I decided to do a gray wood plank tile with charcoal colored grout. My goal for this was to be easy to clean, easy to install and hide any potential future stains. We spaced each tile roughly 1/8" apart and staggered the tiles roughly 1/2 a tile from the previous row. It was important to me that there be whole tiles in the most visible areas. Originally my husband wanted to start in the far corner of the room and work his way over. We ended up not doing this because that would mean that he would be cutting tiles length-wise to fit in the most visible section of the bathroom. Instead we started in the far corner up against the tub- this may have been more inconvenient for him but I believe it helps with the overall look. We waited a day for the mortar to dry before grouting the tile


Tiles mortared in place before grout


Max grouting and the finished product!!!!
Step 7: Toilet and Shower Fixture Installation
The toilet was relatively easy to install. I purposely got one that has a power flusher and doesn't clog easily just incase random objects in future were subjected to flushing. We ended up purchasing a 1/4" spacer to make the toilet ring level with the floor.
The Shower fixtures or "Trim Kit" as it's called in the professional world also went on fairly easy. We used Teflon tape around the screw on part of the shower head to prevent water leaking.

Step 8: Sink Installation
This ended up being a bigger ordeal then what I bargained for. I'm constantly searching for the most functional vanity that will provide me a lot of storage that will also be easy to install. I thought this vanity would be easiest to install because there were large cabinets on either side to put the plumbing for both sinks. Apparently I was dead wrong because all the plumbing ended up being the the middle. It took my dad and Max two days and multiple trips to home depot to install this sink. In the end only the bottom drawer and two side cabinets are actually functional (facepalm)


Step 9: Backsplash Installation
We decided to add a decorative tiled backsplash behind and to the side of the sink because the counter top did not come with one. Generally some sort of backsplash is a good idea to prevent water damage overtime to the wall.
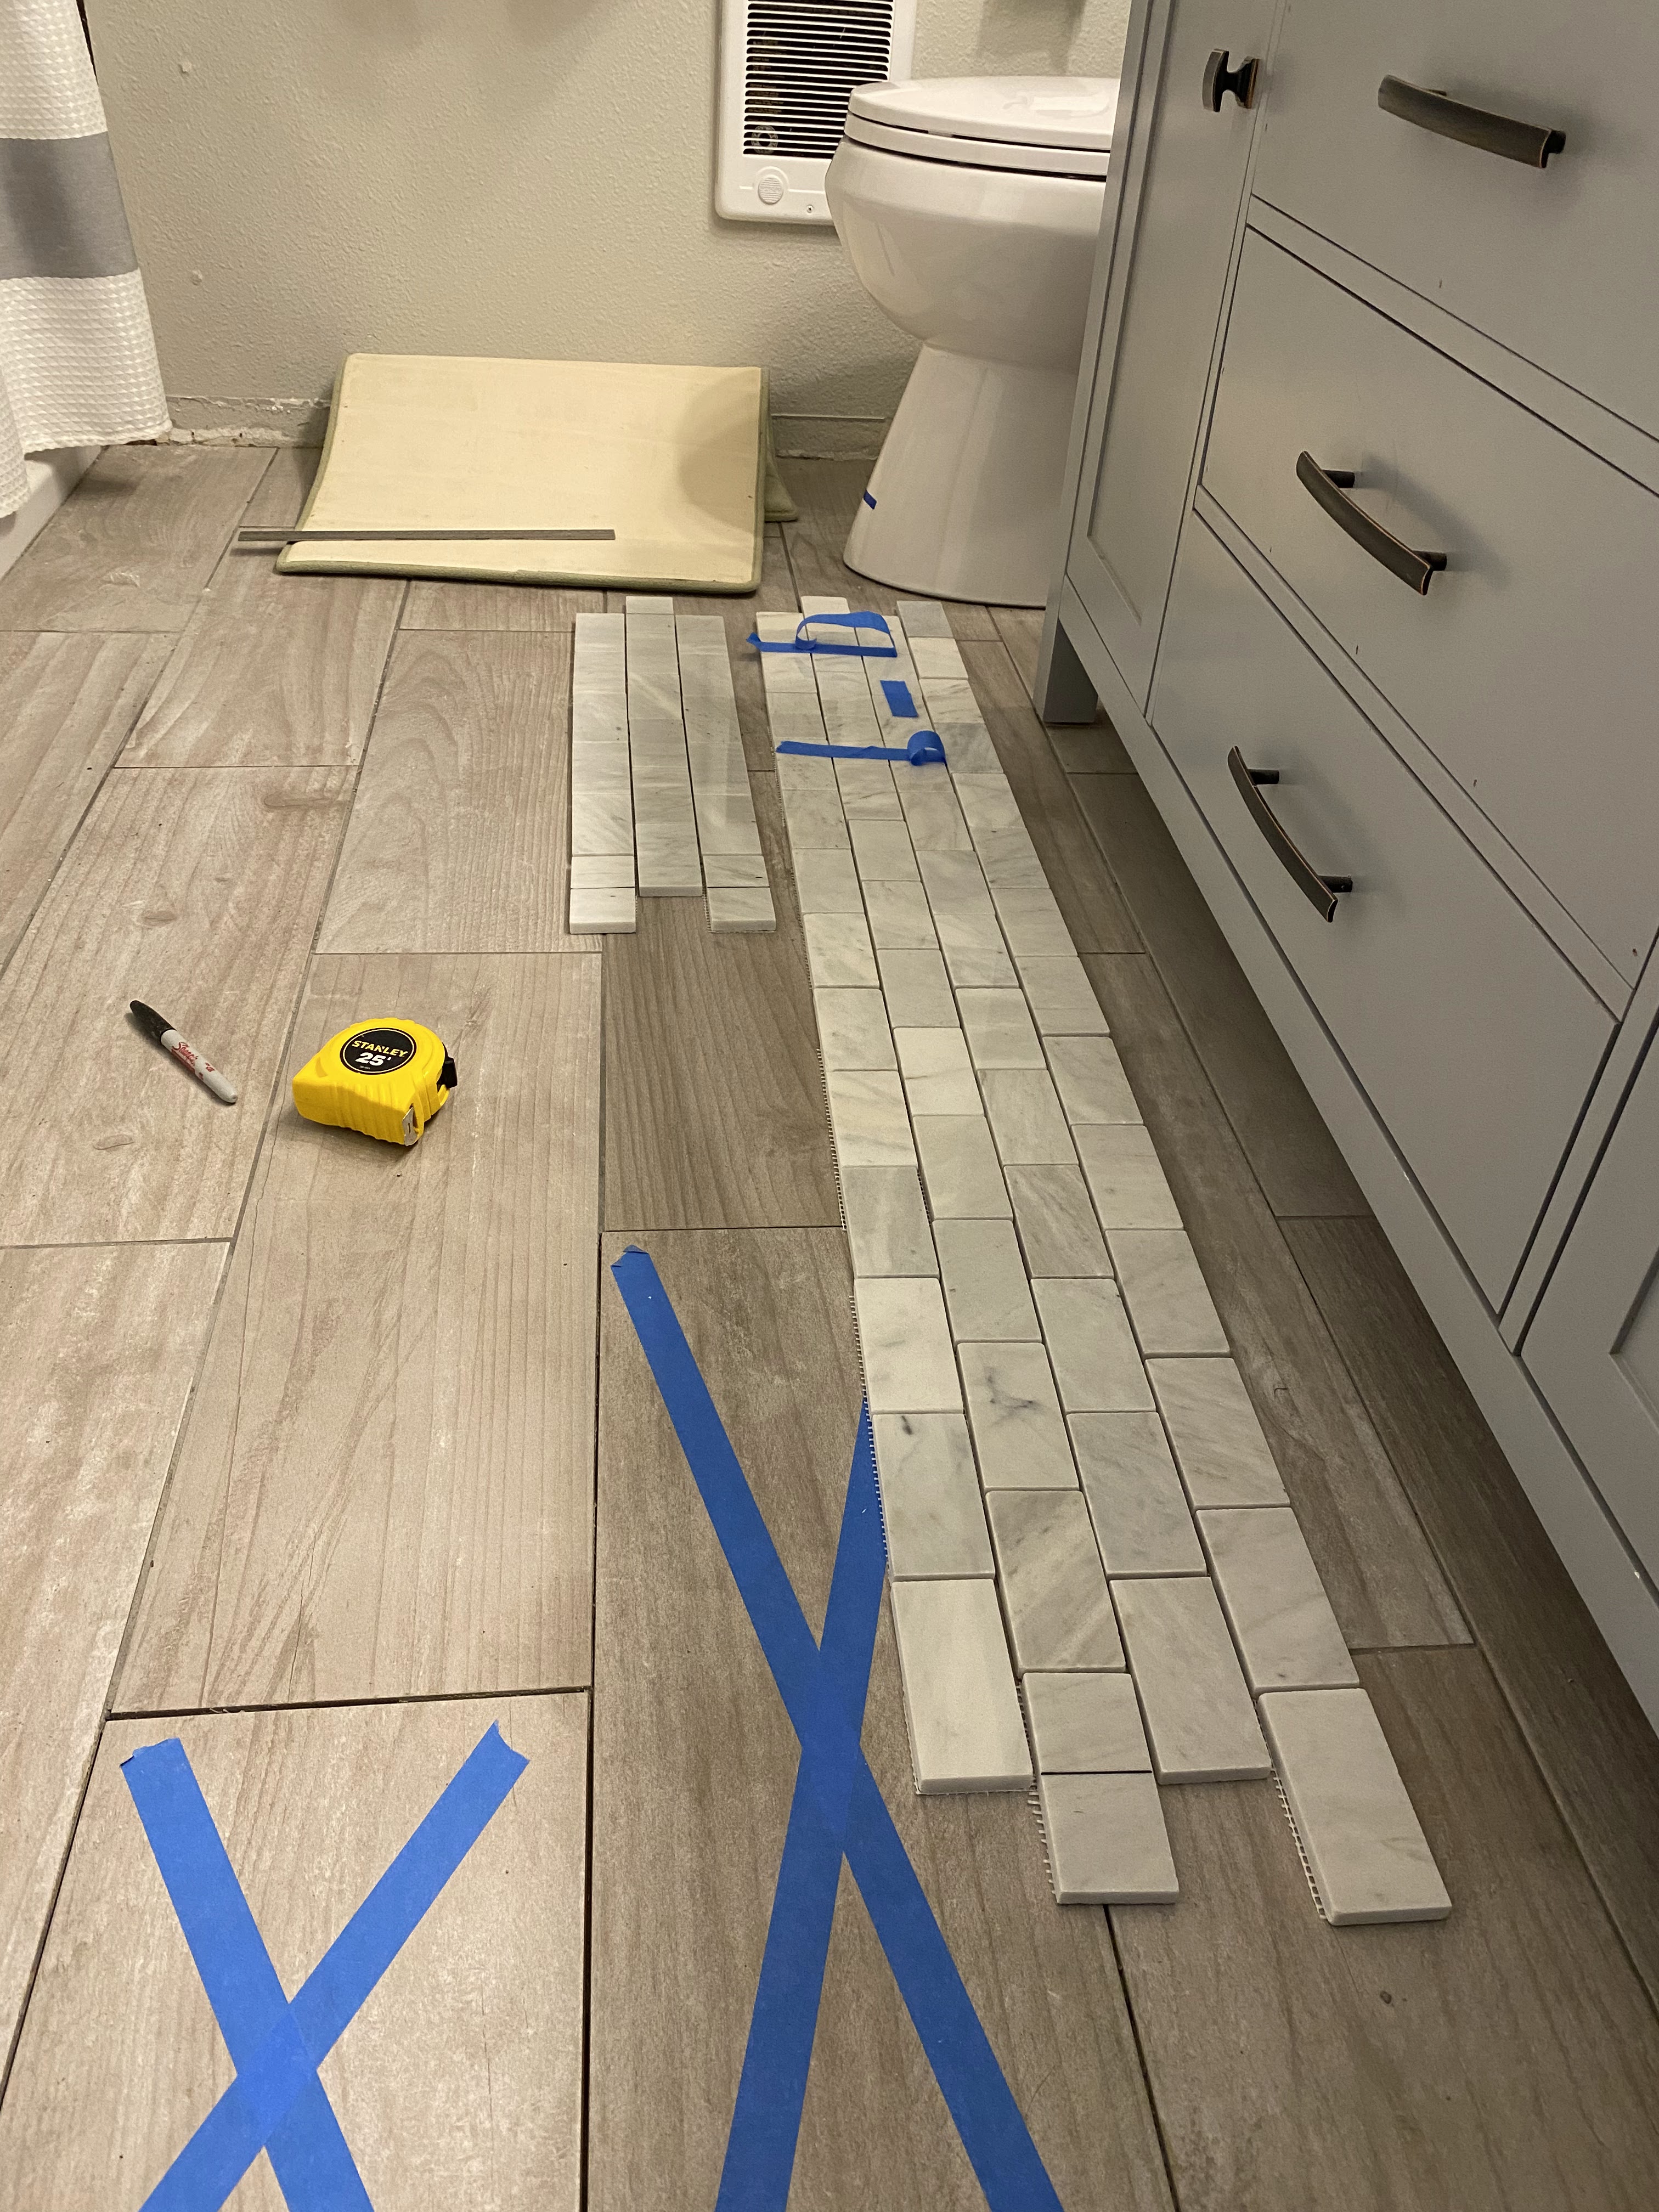
We purchased accent tile from Lowes. I was going for something pretty neutral because the countertop is already so busy and I wanted it to be the focal point of the sink area. I thought the subway tiles would compliment the other subway tiles that I have in the house. These were pretty easy to install. First we opened all the packages, measured our space and laid out the appropriate amount of tiles. Originally I thought we would only have enough for 3 rows of tile but we ended up having enough extra that I added a fourth row. I'm all about using what I paid good money for. We used thin-set mortar to install them directly onto the dry wall. We could've used premixed mastic instead but we already were making mortar to tile the shower in our master bathroom so we just used the existing mortar that we had.
Overall I was really happy how this turned out. We used white grout which I felt really complimented the tile. I only do white grout on backsplashes or walls because it is so hard to keep clean.


Step 10: Finishing Drywall, Mudding, Painting and Trim!
This step took the longest by far- this is mostly because we were busy with a lot of other projects and kept putting this one off. I absolutely hate drywall mudding because it takes so long and is so dusty! At minimum it's a three day project.
Once we finally completed the mudding we added texture to the wall with the spray on texture. I'm not a huge fan of it but it worked ok. Then I painted the rest "Repose Gray" from Sherwin Williams.
After I finished painting we added trim. I love when we add the trim- it just really completes the whole room.


Step 11: Installing shelves
I'm not going to go super into detail with this one because I did a whole blog post about it (see this post: https://craftytravelgirl.blogspot.com/2022/06/diy-floating-bathroom-shelves.html) but we created floating shelves for extra storage in the bathroom. I really wanted to be able to store the vacuum in this spot because we really had no other place for it. My other big ask for this space was a place to store all of our toilet paper/paper towels. They take up so much space and we didn't really have a good spot for them before this. It worked out really well. I am so glad that we decided to remove the chimney I think we benefit so much more from deep storage space.

Finished Product
This project took us a lot longer than I thought it would- mostly because it was somewhat of a back burner project for us. We started demolition in January 2022 and didn't completely finish until end of May 2022. In the meantime we also remodeled another bathroom and completed a bunch of other random more pressing projects. Overall I am very happy with how it turned out despite how long it took. I love all the extra storage space!
Tips and suggestions:
Save your receipts: We returned so many things that we thought we would need and didn't end up using. Also the tile was sold by the piece so we were able to return the extra pieces
If you are newer to tiling or a DIY'er I suggest always staggering your tile. This makes it easier to hide your mistakes if you are slightly off with spacing. Also if you are starting or ending with 1/2 a tile always put the factory cut section on the end. This isn't as big of deal in floors but the rough edges are very noticeable on backsplashes.
You want to wear masks when demoing whenever possible. Who knows what kind of dust and crap has been sitting in your walls for however many years


Comments
Post a Comment