Shiplap Decor Sign

So I had some left over shiplap pieces from our ship lap projects (see this blog post: https://craftytravelgirl.blogspot.com/2022/05/diy-shiplap.html). Much to my husband's dismay I am always trying to use up material in our garage- although it usually ends up with us having more of a different material in the garage instead.
I had been wanting get some sort of focal piece for our bedroom ever since we created our accent board and batton wall last year.

Our board and batton wall (see this blogpost:https://craftytravelgirl.blogspot.com/2021/09/creating-board-and-batton-accent-wall.html)
I had looked around but I hadn't found anything that I really liked and wanted to hang above our bed. When I saw the extra ship lap though it gave me the idea to make my own piece.
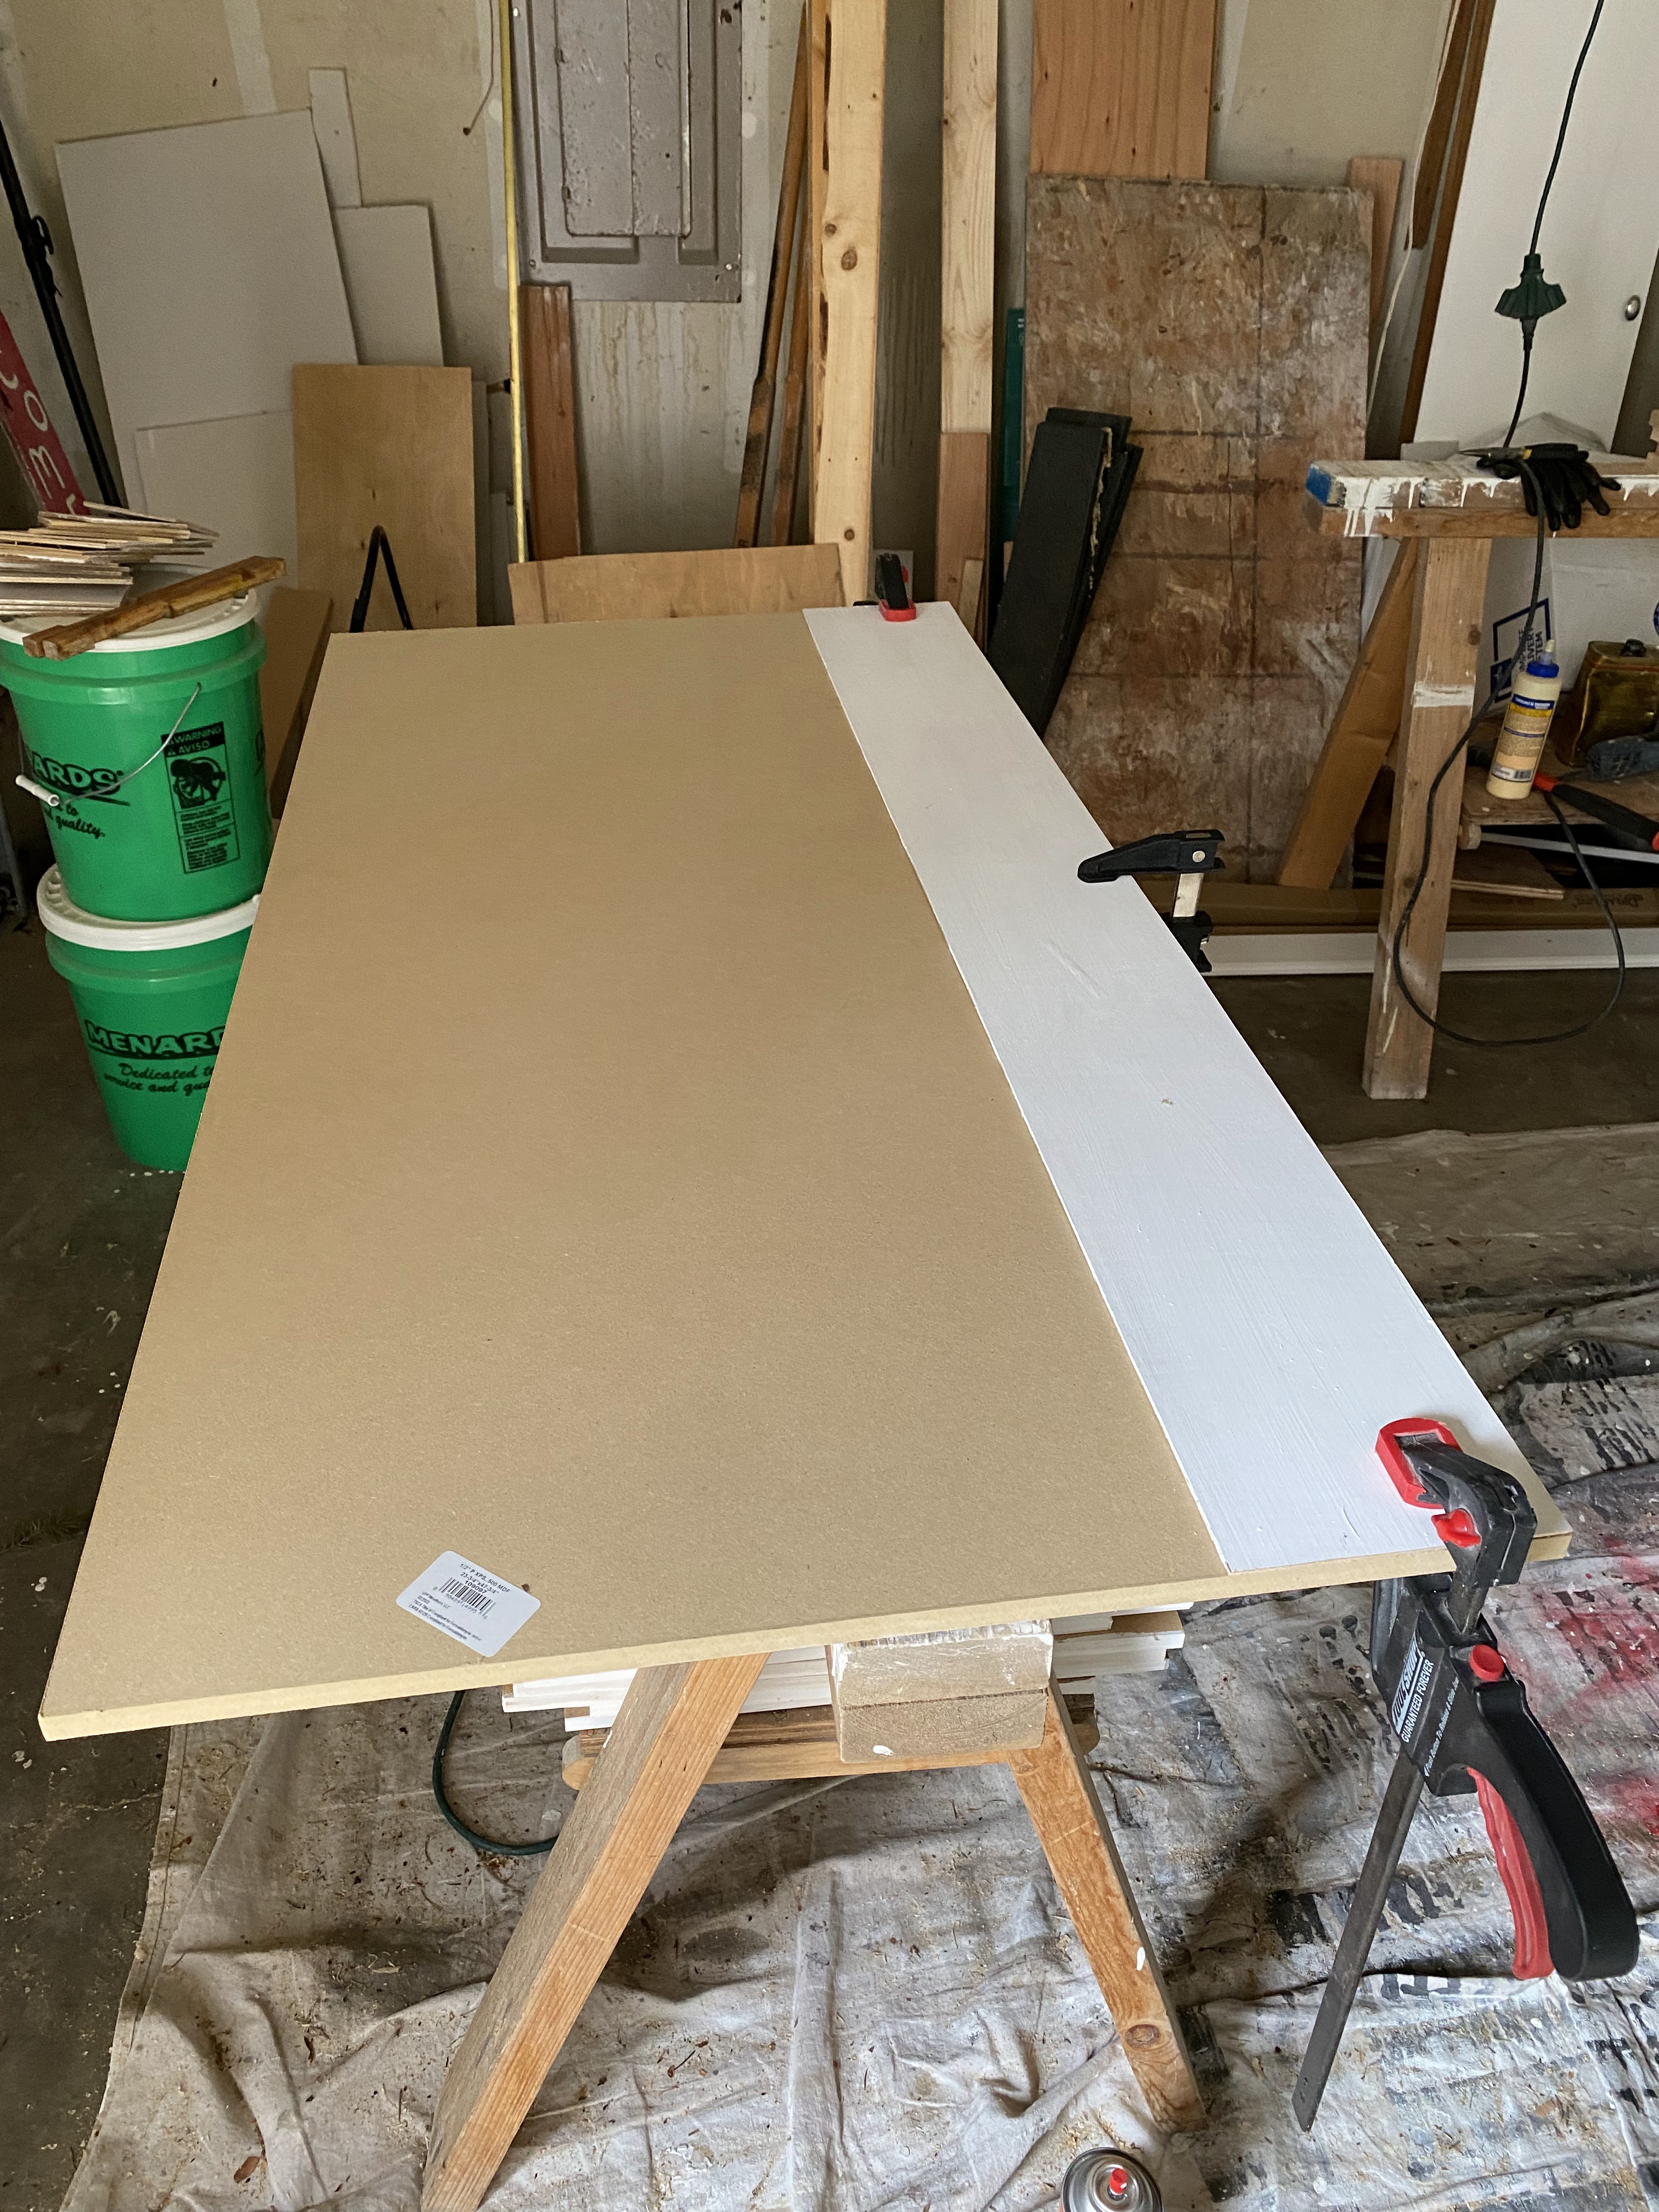
I purchased a 2X4ft handi panel of MDF from home depot. Max and I debated between the 1/4" and the 1/2". We decided to go with a 1/2" because it gave us more surface area to attach the frame to. The downside of this is that it is HEAVY.
I also purchased a 1x2 8ft board. Technically for this project you would need 2 but we had some left over pieces from other projects that we used instead of purchasing a 2nd one (yay using up more material in the garage!).

The handi panel before the shiplap was applied to it
Step 1: Glue the Shiplap to the handi panel.
Using wood glue and clamps I glued each piece of shiplap to to the handi panel. I used nickels' in between each piece to give it the traditional shiplap look. Once I had finished gluing all the pieces onto the panel I applied white paint in between each of the pieces to cover up the tan color of the handi panel.

Step 2: Create the frame
Using the 1x2's Max cut the pieces to create a frame around the handi panel with the shiplap on it. I stained the pieces with Jacobean from Minwax and applied a coat of polyurethane. After the pieces were dry Max used the nail gun to adhere the frame to the panel.


Step 3: Create the Vinyl
Throughout our 6 years of marriage my husband always says to me "always and forever". I don't remember when or where it started but it's become our little saying to each other. So when I was thinking about this project I thought it was appropriate for it to have our saying on it. I used black permanent vinyl on the cricut to cut out the letters. Because of the size of the space I ended up needing to use a lot of vinyl (roughly 5 feet). I would've possibly made it a little bigger but I was limited by the size of the mat that vinyl cuts on. Because it was so big I had my husband help me transfer it onto the shiplap because it can easily fold on itself.

Step 4 Hang it on the wall
Sometimes with cricut projects I will apply polyurethane over the top to help seal it. However I didn't do that for this project because I didn't feel that it needed it. I knew it wasn't going outside or in a high moisture area.
To hang it on the wall we purchased hooks from Home Depot that are designed to hold a lot of weight. Max also put one of the ends into a stud and used a drywall anchor to secure the other side. It was really important that we secure this well- we didn't want it falling on us in the middle of the night.

Overall
I love it- I was glad that I was able to use up some material for a relatively easy project. I liked that I was able to individualize it for us. The only downside I found to it is how heavy it is.


Comments
Post a Comment