Our Kitchen Remodel

The before

Our dining room that we were using as our living room
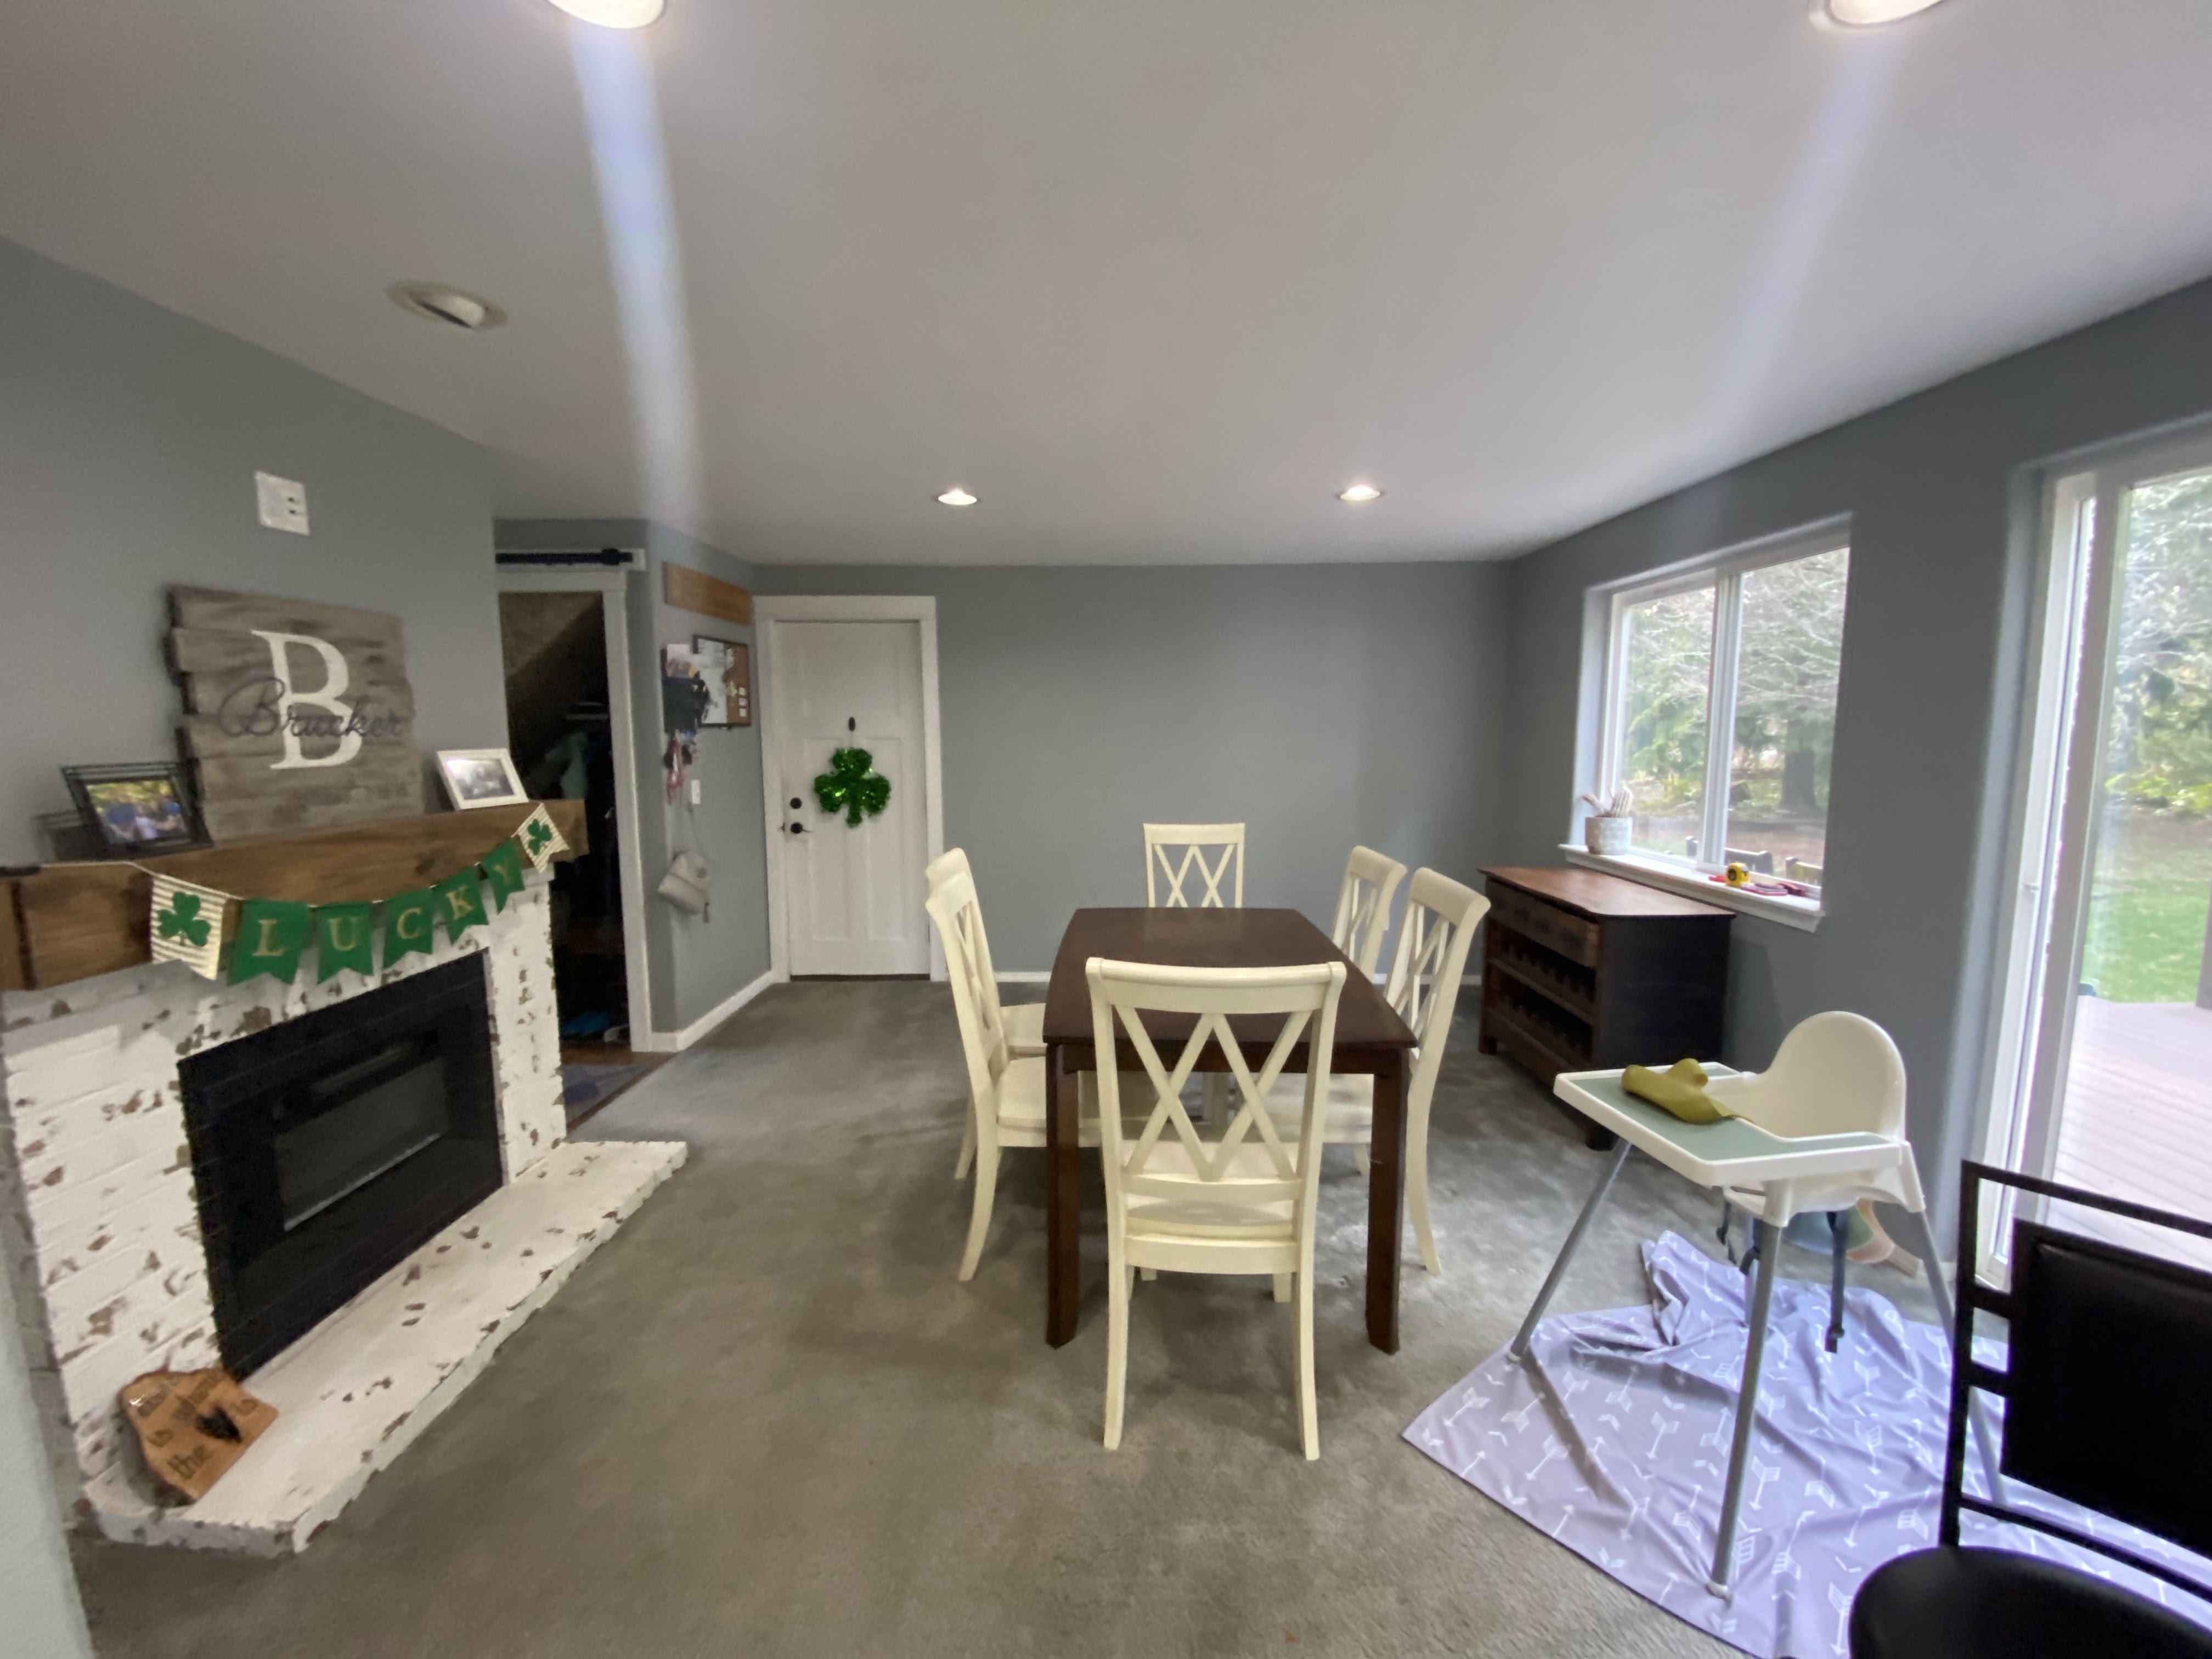


Our living room that we were using as a dining/storage area


Our kitchen
We have basically been planning this remodel since we moved in and we knew it would be big. We wanted to take out part of the wall to open up the space. Originally I wanted to take out the whole wall but it is load bearing and there was a lot of vital plumbing and electrical that we needed for the upstairs so we decided to only take out part of the wall.
Whenever we do a big project like this I think it's important for people to understand how much pre-planning goes into it before we even act on it. We talked about this project for months before we even started anything. We discussed what would be the best use of the space, what we liked and didn't like about the space and the logistics of doing this whole project.
Our biggest complaint about the kitchen was that we felt so enclosed- we didn't like that while in the kitchen you couldn't see into the other room- especially with a mobile baby we knew this would be an issue that we wanted to address. The other thing we didn't like about is is the peninsula- there was a lot of bottlenecking in that area- often one of us would get trapped if we were both in the kitchen or if we were entertaining that area would get crowded as people were serving themselves food or something like that.
Step 1: Buy new appliances
We replaced the dishwasher almost immediately after moving in because the old one didn't actually work. For some reason my husband and I can't buy a house with a working dishwasher. We got our microwave from our neighbor who was replacing theirs so that was nice. We needed a new stove and a new refrigerator. We decided to order these well in advance because we had such an issue with our new washer and dryer last year. This ended up being a good idea because the stove was on back order for 2 and half months. Also we found it was nice to have the appliances picked out in advance because then we knew what size they were for planning the kitchen cabinets. Just to give an idea for time frame we ordered the appliances in January (with presidents day sales) and officially started remodeling in May.


Old fridge and new fridge. We were so happy to get the upper french door style like we had in our old house. We also liked that this one had a larger water area for filling up tall water bottles.
Step 2: Plan your cabinets
I'm not going to go into this too indepth because I did a whole seperate blog post about it but we ordered our cabinets from ikea. We ordered these in the beginning of March in order to give ourselves time to put them together and if there was any delays in getting the cabinets here.


Step 3: Demo
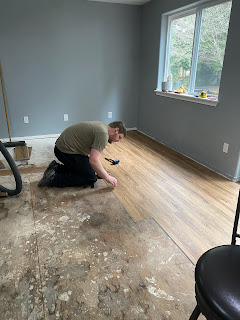
We first tore up the carpet and put down luxury vinyl plank. The wood purist in me would've really loved to continue the wood flooring throughout but this is just such a high traffic area I knew practically overall it would be better to do waterproof vinyl. Plus I knew it would be really hard to match the stain of the wood floor- even though we stained it we really didn't know what type of wood it was or anything. We laid down part of the floor so that we could move everything over to one side and create a mini kitchen area when when went to demo the real kitchen.


We also took out a section of the wall ahead of the full demo so that we could see what we had to work around. We weren't super thrilled when we learned we were going to have to move those two water lines.


Once my dad to our house we did the official demo and things really ramped up a notch.


Step 4: Remove part of the wall and re-route all the electrical and plumbing
We knew this would be the hardest part- but it was 100% worth it. We knew we couldn't take out the whole wall because there was major plumbing in the wall that was vital to the upstairs bathrooms and it was a load bearing wall.
Before we could physically cut a hole in the wall we had a to build a temporary support beams to support the load until we could get the structural integrity back


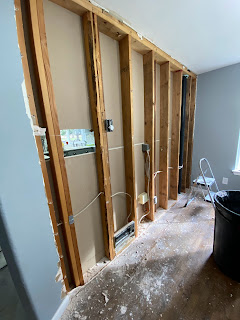
Once the temporary wall was built we were able to reroute the plumbing and electrical. This was probably one of the hardest parts of the remodel- but it was so much easier because we were able to use pex. We had invested in pex with our two bathroom remodels and therefore had plenty of experience with it. Still this was a lot of lines to run. After running the plumbing and electrical we were able to built the support beams and officially cut a whole in the wall.


This shows you how much plumbing and electrical had to be redone- it was a lot of work but it opens up the space so much. It was so worth it.
Step 5: Install flooring
We finished laying the luxury vinyl plank. This was a relatively simple process and took only about a day. Once you get into the groove of it it goes down pretty easy. We also put on trim pieces and transition pieces.


Step 6: Install cabinets
This is where things really started coming together. I did a whole separate blog post on this but it was so nice when they were able to start hanging the cabinets.


The cabinets had a blue plastic protective coating on them that we slowly removed once we got them all into place.


Step 7: Countertops
We ordered our countertops in advanced but they couldn't come to measure until we had the lower cabinets installed. It was about 3 weeks from the time that we had our counter tops measured until we had them installed. This felt like forever because we were doing all of our dishes in the bathroom sink. Unfortunately it's the reality of the situation- apparently that is a pretty normal lead time.


While we were waiting for the counters to be installed we got some plywood boards to lay ontop of the cabinets to use a temporary countertops.
It was such a glorious day when they were installed and we could finally hook up our sink again. We got quartz- also from ikea.


Step 8: Backsplash
I purposely picked something very simple because I wanted a backsplash but I didn't want it to compete with the beauty of the quartz. We got basic white subway tile from floor and decor- but this subway tile had a bit of a bevel on it to give it a little more dimension. It was a pretty easy weekend project for us because we've done several tile jobs over the years.


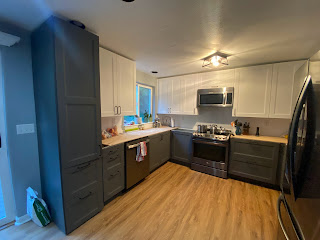
Overall
Overall we are so happy with our kitchen. It completes our home and makes such a huge difference!! We love the open wall and how our kitchen is more functional. It was a lot of work but it is so worth it!!


Things we did that made the experience more pleasant
1. Plan plan plan and allow plenty of time. We've been planning this for over a year.
2. Order things well in advance- expect delays- so the more time you in advance you can order things the better.
3. Plan a small "kitchenette" area in your house. We just had our kitchen table in a corner and it was nice to have a designated kitchen area amongst the chaos
4. Plan a bunch of meals in advance- we meal prepped and made some crock pot and freezer meals. This was very nice because we didn't have to eat out a done during the remodel and we could have left overs the next day for lunch.


Comments
Post a Comment